
My stash of recyclable jars and bottles has grown out of control. It's time to do something with them!! After sorting through and discarding many in the recycle bin, I thought I would try to make something decorative with the remainder. I love to try out new techniques and new-to-me products, and these free vessels are the perfect guinea pigs.
If you've been following this blog long enough, you've probably picked up that I love anything translucent-- gemstones, votives, stained glass... They just catch my eye-- I must've been a magpie in a former life. :) Anyhow, when I stumbled upon alcohol ink and their translucent qualities, I knew that I had to try them out on glass.


Click "Read more" for the full post
Alcohol Ink Bottles

materials needed:
clean, empty glass vessel
alcohol inks-- I purchased mine, but here's a tutorial if you want to try making your own.
felt pad and applicator-- you can use regular wool felt. you also don't have to buy the applicator, but it is handy and keeps ink off your fingers.
instructions:

Drip the alcohol ink onto the felt pad into a random pattern. For this particular color palette, I used wild plum, citrus, butterscotch and a gold mixative. The mixatives (silver and gold) are NOT translucent, so use them sparingly.

Stamp the inked pad onto your glass vessel. You should get several "stamps" out of your pad.
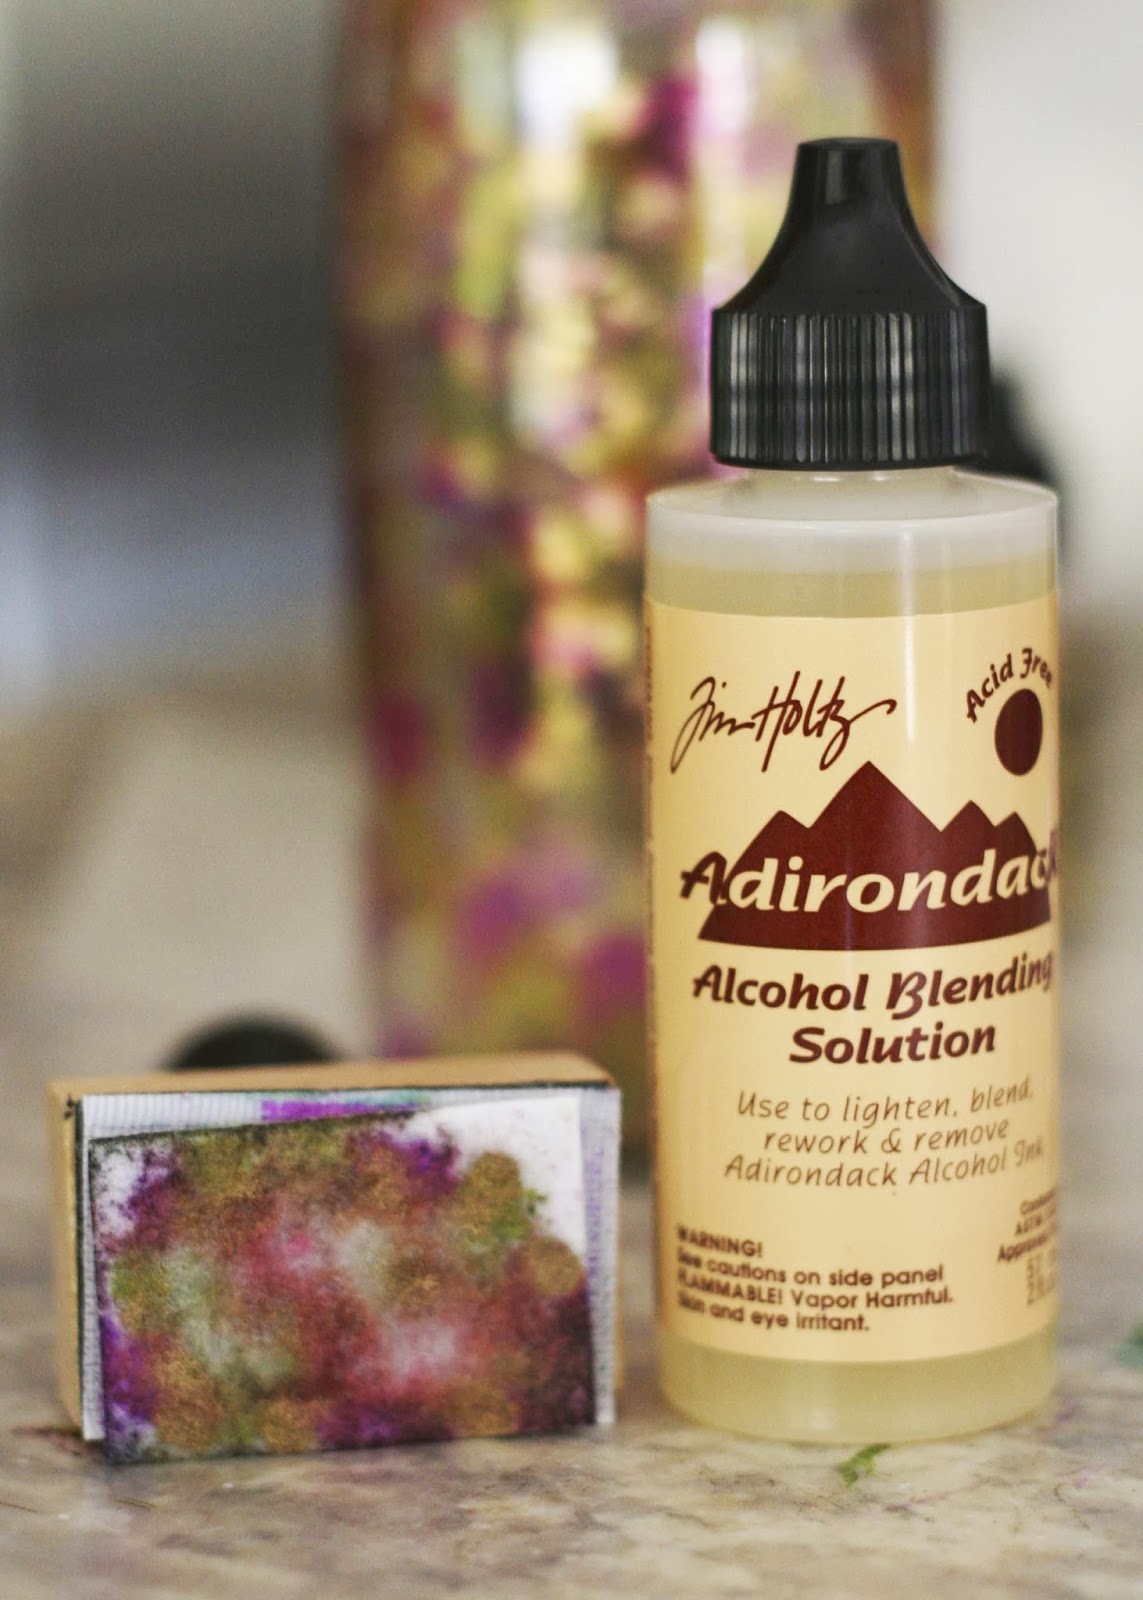
If you want to soften up the look for a more "marbled" look, add a few drops of blending solution (or rubbing alcohol) to the pad. Then go back and stamp over your inked vessel. The alcohol in the solution will dilute some of the ink and give it a more random look.
When you're happy with the look of your vessel, seal it with a thin coat of acrylic sealer.

The great thing about alcohol ink is that it is very easy to change-up your design. Just apply rubbing alcohol and wipe it off or swirl it into something new. That's also the bad thing about alcohol ink. You can keep playing around with it, with no end in sight... Until you seal it, that is. Of the three bottles above, only one remains the same (the purple one).
The green "sponged" bottle morphed into this...

And the burgundy/gold bottle became something entirely different-- this green/gold chevron bottle...
I'm not sure if I "love" either of them, so I haven't sealed them yet. Yeah, perhaps not the best medium if you're indecisive like me. :D

So three bottles down... several more to go! I'll be back soon with more cool ways to upcycle jars and bottles.
sharing with...
