
Since today is Earth Day, I thought I'd dig into our recycle bin and come up with an upcycle project.
Most upcycle projects that I see are glass-- wine bottles, jars, even beer bottles. Not too many pretty projects with plastic milk gallon jugs though. I wonder why? ;) I guess they aren't the most exciting in their original form, but with their vellum-like quality, I thought they would be perfect for a votive project.

click "Read more" for the full post
Milk Jug (Polyethylene) Votives
Since I want to use these in our backyard this summer, I decided to make them as water-resistant as possible while also keeping it an easy DIY. After trying several adhesives, I'm happiest with this clear adhesive sealant. It is easy to work with (the texture is thick enough to adhere the pieces together without using clamps) and it also dries relatively quickly... although not as quickly as hot glue.
Why I didn't use a hot glue gun... Unfortunately hot glue does not adhere well to polyethylene (the material that milk jugs are made from) and it is not water resistant. If you do want to use a hot glue gun, you'll have paint the polyethylene (clear spray paint or acrylic paints) or rough it up with sand paper. Even with that, the bond will not be as strong.
materials needed:
clean milk jug (once you cut away the bottom and handle, one jug should make one votive)
scrap paper for template
cheap scissors (to cut the milk jug)
clear silicone adhesive sealant (I used this one)
battery-powered votive lights
acrylic paint (optional) i used this multi purpose paint in gold since it adheres well to many surfaces. i also used this glitter paint to add some dimension.
instructions:

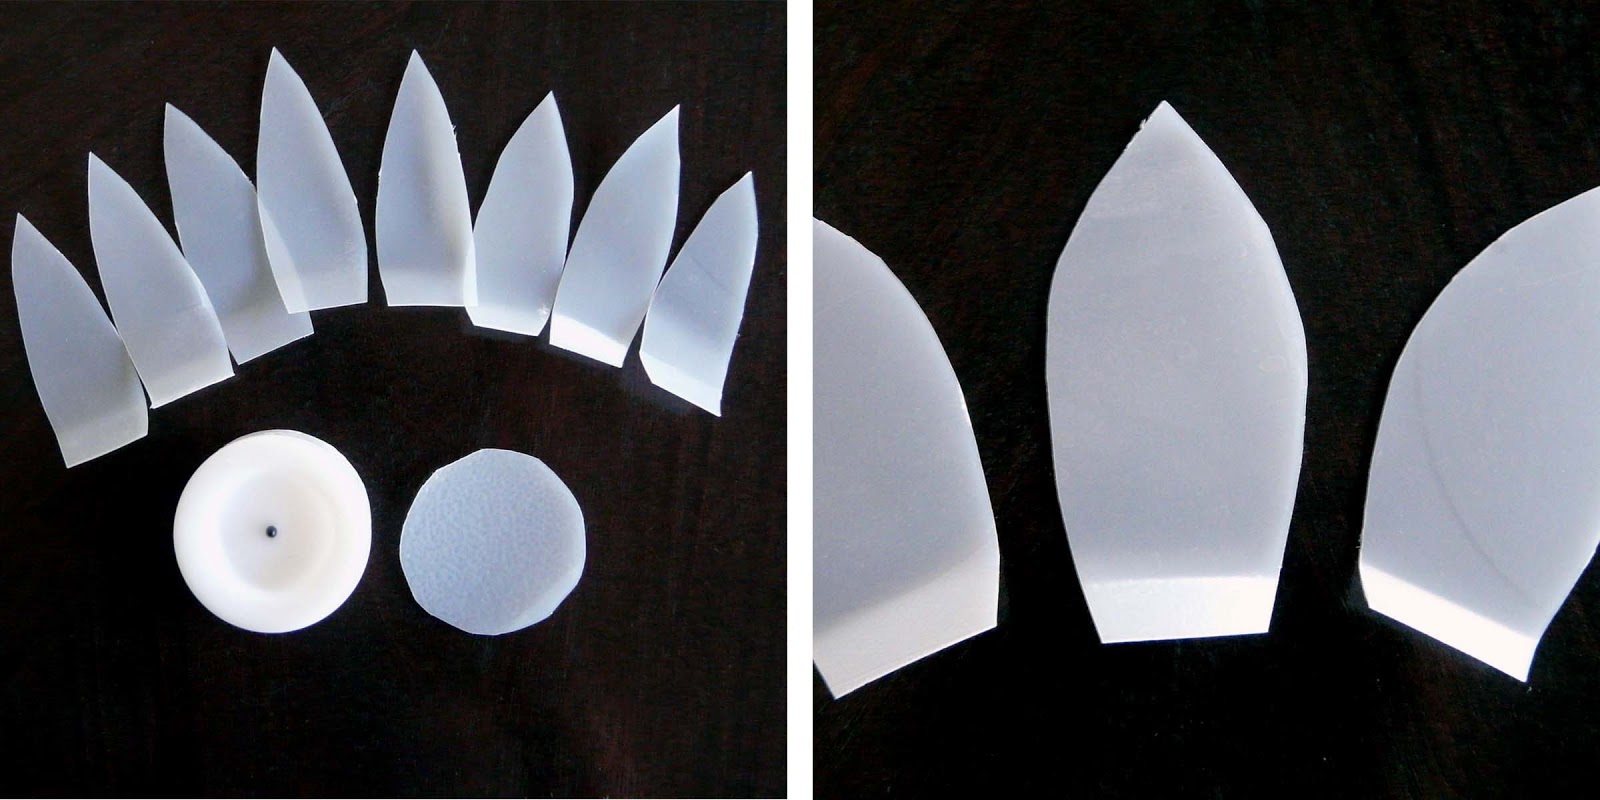
Bend the end of your petals. Luckily polyethylene is very flexible and doesn't crease (at least my jugs from Trader Joe's don't). You can later add more "bend" to your petals when the project is complete.

I then attached the medium-sized petals, followed by the large petals. I perched it upside-down on a acrylic paint bottle to dry. Let the sealant dry overnight. It will be clear when dry.
During the day...

And at night...

Ready to add some ambiance to our back yard...

<<<<<<>>>>>>

p.s. Here's a similar milk jug tutorial that you might like!

